Introduction to Christmas Cookie Bars
Why Christmas Cookie Bars are a Holiday Must-Have
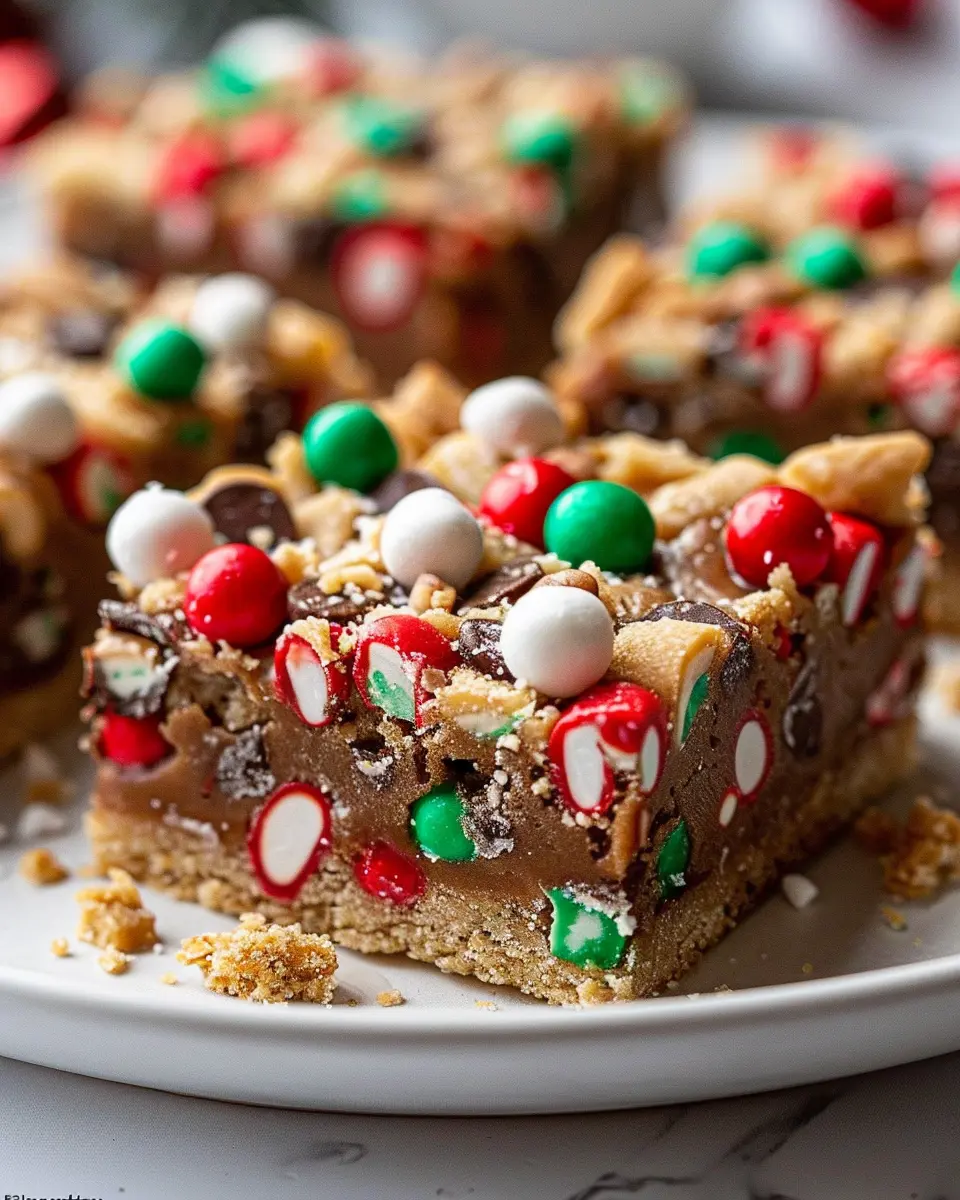
As the holiday season approaches, Christmas Cookie Bars quickly become a cherished tradition in many homes. But why are these delectable treats such a staple during this festive time? The answer lies in their perfect blend of convenience, taste, and festivity.
First and foremost, Christmas Cookie Bars offer a mouthwatering flavor profile that appeals to everyone. Imagine rich, buttery layers packed with chocolates, nuts, and festive spices. This combination is not only delicious but also evokes warmth and nostalgia, which are key elements of the holiday spirit. Moreover, these cookie bars can be easily customized to suit your family’s preferences. Want to incorporate some peppermint? Go right ahead! Prefer a nutty texture? Add in almonds or walnuts! The options are endless.
But let’s not overlook the convenience factor. Traditional cookies often require individual shaping and decorating, which can be time-consuming. In contrast, cookie bars are a breeze to prepare. Simply mix your ingredients, pour them into a baking dish, and let the oven do its magic. Within an hour, you’ll have perfectly baked bars that can be cut into squares and served to family and friends. This makes them ideal for busy young professionals who want to participate in holiday baking but don’t have the luxury of time.
Incorporating some statistics can highlight their popularity: according to a survey by the American Bakers Association, cookie baking increases significantly during the holidays, with almost 80% of respondents planning to make cookies. Isn’t it wonderful that you can create a festive dessert that’s both quick and crowd-pleasing?
Finally, Christmas Cookie Bars provide a fantastic opportunity for bonding over shared recipes and traditions. Heading into the kitchen with loved ones to mix up a batch can become a cherished memory, as you share stories while waiting for those delightful treats to come out of the oven.
So if you’re looking for a holiday treat that combines flavor, convenience, and a chance for family connection, look no further than these delightful cookie bars. They’re an excellent choice to bring cheer to your festive gatherings. For some inspiration on variations and recipes, check out resources like Taste of Home or Food Network.

Ingredients for Christmas Cookie Bars
When it comes to crafting the perfect Christmas Cookie Bars, the right ingredients can make all the difference, bringing warmth and joy to your holiday celebrations. Here’s what you’ll need to whip up these delectable treats:
- All-purpose flour: 2 cups – This will be the base for your cookie bars, ensuring they hold together beautifully.
- Granulated sugar: 1 cup – The sweet component that balances the flavors and provides that delightful crunch.
- Brown sugar: 1/2 cup – For added moisture and rich caramel notes.
- Unsalted butter: 1 cup, softened – A crucial ingredient that not only adds flavor but also helps create that chewy texture.
- Eggs: 2 large – These help bind everything together and give the cookies a fluffy texture.
- Vanilla extract: 2 teaspoons – A classic addition that brings out the flavors of the other ingredients.
- Baking soda: 1 teaspoon – This will help your bars rise just right.
- Salt: 1/2 teaspoon – A must-have to enhance all the other flavors.
- Chocolate chips: 1 cup – Use your favorite type, whether semi-sweet, dark, or even white for a fun twist.
Feel free to get creative with your mix-ins! Consider tossing in some chopped nuts, dried fruit, or even some sprinkles for an extra festive touch. With these ingredients, you’re just a few steps away from a cozy moment in your kitchen. Looking for a specific ingredient brand? Check out this detailed guide for baking supplies on Allrecipes. Happy baking!
Step-by-Step Preparation of Christmas Cookie Bars
The holidays are a special time for many of us, filled with laughter, family gatherings, and of course, delicious treats. One dessert that never fails to bring joy and warmth is Christmas Cookie Bars. This easy-to-make recipe combines the festive flavors of traditional cookies in a simple bar format that’s perfect for sharing. Let’s dive into the preparation process, step by step!
Gather Your Ingredients
Before we begin, make sure you have all your ingredients on hand. For these Christmas Cookie Bars, you’ll need:
- 2 ½ cups all-purpose flour
- 1 teaspoon baking soda
- ½ teaspoon salt
- 1 cup unsalted butter, softened
- 1 cup brown sugar, packed
- ½ cup granulated sugar
- 2 large eggs
- 2 teaspoons vanilla extract
- 2 cups chocolate chips (semi-sweet or milk chocolate)
- 1 cup chopped nuts (optional)
Having everything ready will streamline your baking process. Plus, you won’t have to run around the kitchen like a headless turkey, trying to find that last missing ingredient!
Preheat Your Oven and Prepare the Baking Pan
Next, let’s get that oven fired up! Preheat it to 350°F (175°C). While it heats, grab a 9×13-inch baking pan and line it with parchment paper or spray it lightly with cooking spray. This will keep your Christmas Cookie Bars from sticking and make for easy cleanup later—who doesn’t love that?
Mix the Dry Ingredients Together
In a medium bowl, combine the following dry ingredients:
- All-purpose flour
- Baking soda
- Salt
Whisk them together until they’re well-blended. This will help even out the distribution of the baking soda and salt throughout your batter, ensuring your bars rise evenly.
Cream the Butter and Sugars
In a large mixing bowl, beat the softened butter, brown sugar, and granulated sugar until the mixture is light and fluffy. This step is crucial for creating that soft and chewy texture we all love in a cookie bar. Use an electric mixer if you have one—just be careful not to overbeat, as this can incorporate too much air.
Incorporate the Eggs and Vanilla
Once your butter and sugar mixture is creamy, it’s time to add the eggs and vanilla extract. Beat in the eggs one at a time, ensuring that each is fully incorporated before adding the next. Add the vanilla extract as well; this little touch will enhance the overall flavor of your Christmas Cookie Bars.
Combine Wet and Dry Ingredients
Now comes the fun part! Gradually add your dry ingredient mixture to the wet ingredients. Mix on low speed until just combined. Be careful not to overmix here; it’s okay if there are a few streaks of flour still visible.
Add Chocolate Chips and Optional Nuts
Fold in the chocolate chips and any nuts you decided to include for that extra crunch. You can totally customize this step based on your personal taste. Feeling adventurous? Consider adding dried fruits like cranberries or cherries for a festive twist!
Pour and Spread the Batter
Pour the batter into your prepared baking pan, using a spatula to spread it evenly. This will ensure that each bite of your Christmas Cookie Bars is just right.
Bake and Cool Your Cookie Bars
Place the pan in your preheated oven and bake for 25-30 minutes or until the edges are golden brown and a toothpick inserted in the center comes out clean. Baking time may vary slightly based on your oven, so keep an eye on those bars!
Once they’re out of the oven, let them cool in the pan for about 10 minutes before transferring them to a wire rack to cool completely. Trying to cut them while they’re still hot? You might end up with a gooey mess—trust me, I’ve tried!
And just like that, you have a delightful batch of Christmas Cookie Bars ready to share (or keep all to yourself—you deserve it!). These bars are perfect for gatherings, gift-giving, or simply enjoying with a warm cup of cocoa as you unwind after a busy holiday season. Happy baking!
Variations on Christmas Cookie Bars
Christmas is the perfect time to share delicious treats, and what better way to spread holiday cheer than with versatile Christmas cookie bars? These easy-to-make, crowd-pleasing desserts can be adapted to suit your taste and the preferences of your friends and family. Here are three delightful variations to inspire your next baking adventure!
Chocolate Chip Variation
Who doesn’t love a classic chocolate chip cookie? Transform your Christmas cookie bars into a chocoholic’s dream by folding in rich semi-sweet or dark chocolate chips. You can use:
- 1 cup of chocolate chips
- A sprinkle of sea salt on top before baking for that sweet-salty flavor!
This version can be paired well with a warm cup of hot cocoa, making it a cozy evening treat.
Nutty Bliss Variation
If you’re looking for something a bit more extravagant, the Nutty Bliss Variation is for you. Add a handful of your favorite nuts—like walnuts or pecans—into the dough for an amazing crunch. Nuts not only give texture but also a healthy dose of protein. According to Healthline, nuts can boost heart health and keep you feeling full longer.
- 3/4 cup of chopped nuts
- A drizzle of honey on top (once cooled) adds a delightful touch.
Festive Sprinkle Variation
Bring a pop of color to your holiday dessert table with the Festive Sprinkle Variation. After baking your Christmas cookie bars, let them cool and top with a simple icing (powdered sugar mixed with a splash of milk) and a generous shower of colorful sprinkles. This playful touch is fun for both kids and adults alike.
With these variations, the possibilities are endless! Embrace your creativity and share these festive treats with loved ones. For more baking tips, check out resources like King Arthur Baking or Joy of Baking to elevate your cookie game this holiday season!
Baking Notes for Christmas Cookie Bars
When diving into the joyful world of Christmas Cookie Bars, a few baking tips can elevate your festive treats to new heights!
Tips to Avoid Overmixing
Overmixing can lead to dense and tough cookie bars. To keep your texture soft and chewy, mix your ingredients just until combined. If you see specks of flour or sugar, that’s okay! A light hand will keep your cookie bars tender and delicious.
Adjusting Baking Times for Different Ovens
Every oven is like a snowflake—unique in its quirks! It’s essential to adjust baking times based on your appliance. If you’re using a convection oven, reduce the temperature by 25°F and check for doneness a few minutes earlier. To be sure your Christmas Cookie Bars are perfectly baked, insert a toothpick in the center; it should come out with a few moist crumbs, not wet batter.
For more detailed tips on baking time adjustments, check out this handy guide on oven temperatures. Happy baking!
Serving Suggestions for Christmas Cookie Bars
Sharing at Holiday Gatherings
When it comes to Christmas Cookie Bars, sharing is a delightful way to spread cheer during the holiday season. Bring a pan of these treats to parties, or package them in festive boxes for friends and family. These bars are perfect for potlucks and office parties—everyone loves a homemade treat! According to the National Retail Federation, nearly 70% of people engage in holiday baking, making your cookie bars a well-received contribution.
Creative Presentation Ideas
Presentation is key to making your Christmas Cookie Bars stand out. Here are some creative ideas to elevate your serving game:
- Tiered Dessert Stand: Arrange your cookie bars on a multi-tiered stand to create an eye-catching centerpiece.
- Individual Portions: Cut the bars into bite-sized squares and place them in colorful mini cupcake liners for easy serving.
- Themed Wrapping: Use festive wrapping paper or decorative containers to gift your cookie bars, adding a personal touch.
Ready to get started? Find more inspiring ideas for holiday treats at Taste of Home or browse gift-wrapping tips on Martha Stewart. Happy baking!
Cooking Tips for Perfect Christmas Cookie Bars
Ensuring Soft and Chewy Texture
For that delightful soft and chewy texture in your Christmas Cookie Bars, start by using room-temperature ingredients. This helps everything blend more harmoniously. When mixing your batter, don’t overdo it; just combine the ingredients until they’re well mixed. You’re looking for a smooth consistency but avoid excessive mixing which can lead to a tougher bar. Another secret? Consider adding an extra egg yolk—it adds moisture and richness, making for the ultimate soft treat!
Also, if you’re feeling adventurous, try substituting part of the granulated sugar for brown sugar. Brown sugar contains molasses, which not only adds a deeper flavor but also retains moisture better than white sugar.
Best Practices for Storage
Once you’ve baked those delicious Christmas Cookie Bars, it’s important to store them properly to maintain their freshness. Keep them in an airtight container at room temperature for up to a week, or you can refrigerate them to prolong their lifespan. If you’re aiming for longer storage, consider freezing them. Simply cut your bars, wrap them tightly in plastic wrap, and store them in a freezer-safe bag. They’ll stay fresh for about three months! For optimal flavor, allow them to come back to room temperature before indulging again.
Want more ways to enhance your holiday baking? Check out this article for more tips and tricks!
Time Breakdown for Christmas Cookie Bars
When it comes to crafting the perfect Christmas Cookie Bars, timing is everything. Let’s navigate through the essential stages of this baking journey together!
Preparation Time
Getting started on your Christmas Cookie Bars shouldn’t feel rushed. Set aside about 15 minutes to gather your ingredients, prep your baking dish, and mix everything together. This is your moment to enjoy the process, perhaps putting on your favorite holiday tunes!
Baking Time
Once your batter is in the pan, slide those delightful bars into the oven for 25 to 30 minutes. The aroma will fill your kitchen, creating a warm and festive atmosphere. Just like they say, patience is a virtue!
Total Time
In total, you’re looking at 40 to 45 minutes from start to finish. Perfect timing for a quick holiday treat! How about inviting some friends over to enjoy these bars with a cozy cup of hot cocoa?
If you’re keen to explore more delightful recipes, check out these tips on baking times from American Baking Association for great insight into perfecting your baking skills!
Nutritional Facts for Christmas Cookie Bars
Calories per Serving
When indulging in these delightful Christmas Cookie Bars, you can expect around 200 calories per serving. While they are a festive treat, it’s wise to enjoy them in moderation, especially as the holiday season offers plenty of delicious options.
Sugar Content
Each serving contains approximately 15 grams of sugar, which gives these bars their sweet and satisfying flavor. For health-conscious cookie lovers, consider using alternatives like maple syrup or coconut sugar to lower the sweetness while maintaining taste.
Suggested Serving Size
A good rule of thumb is to aim for a single bar, especially if paired with a warm beverage to balance out the sweetness. If you’re planning a holiday gathering, cut them into smaller squares to keep guests from overindulging while still enjoying a tasty treat!
For more details on managing sugar intake, check out the American Heart Association. Enjoy your Christmas Cookie Bars with family and friends—there’s nothing quite like sharing some homemade treats during the holidays!
FAQs about Christmas Cookie Bars
Can I freeze Christmas Cookie Bars?
Absolutely! One of the best things about Christmas Cookie Bars is their incredible adaptability. If you want to whip up a batch ahead of time, freezing them is a perfect option. Just allow the bars to cool completely, then wrap them tightly in plastic wrap and store them in an airtight container. They can last up to three months in the freezer. When you’re ready to enjoy them, simply thaw them in the fridge overnight or at room temperature for a few hours.
What other mix-ins can I use?
While our classic recipe is hard to beat, feel free to get creative with your Christmas Cookie Bars! Here are a few mix-ins you might consider:
- Chopped nuts: Walnuts or pecans add crunch.
- Dried fruits: Cranberries or apricots bring a chewy texture and festive color.
- Chocolate chips: Dark, milk, or white chocolate can enhance the sweetness.
- Candy pieces: Think crushed peppermint or seasonal M&Ms for a fun twist.
These alternatives can turn your bars into a personalized holiday treat that everyone will love.
How do I store leftovers?
After your holiday festivities, if you find yourself with leftover Christmas Cookie Bars, storing them is straightforward. Place them in an airtight container at room temperature for up to five days. If you notice they start to dry out, consider adding a slice of bread to the container to help maintain moisture. Want a little longer shelf life? The freezer is your friend, as mentioned earlier—just remember the wrapping technique to keep them delicious!
For additional tips on storage and freezing baked goods, check out Food Safety for expert insights. Enjoy your baking adventure!
Conclusion on Christmas Cookie Bars
Why You Need to Try This Recipe This Holiday Season
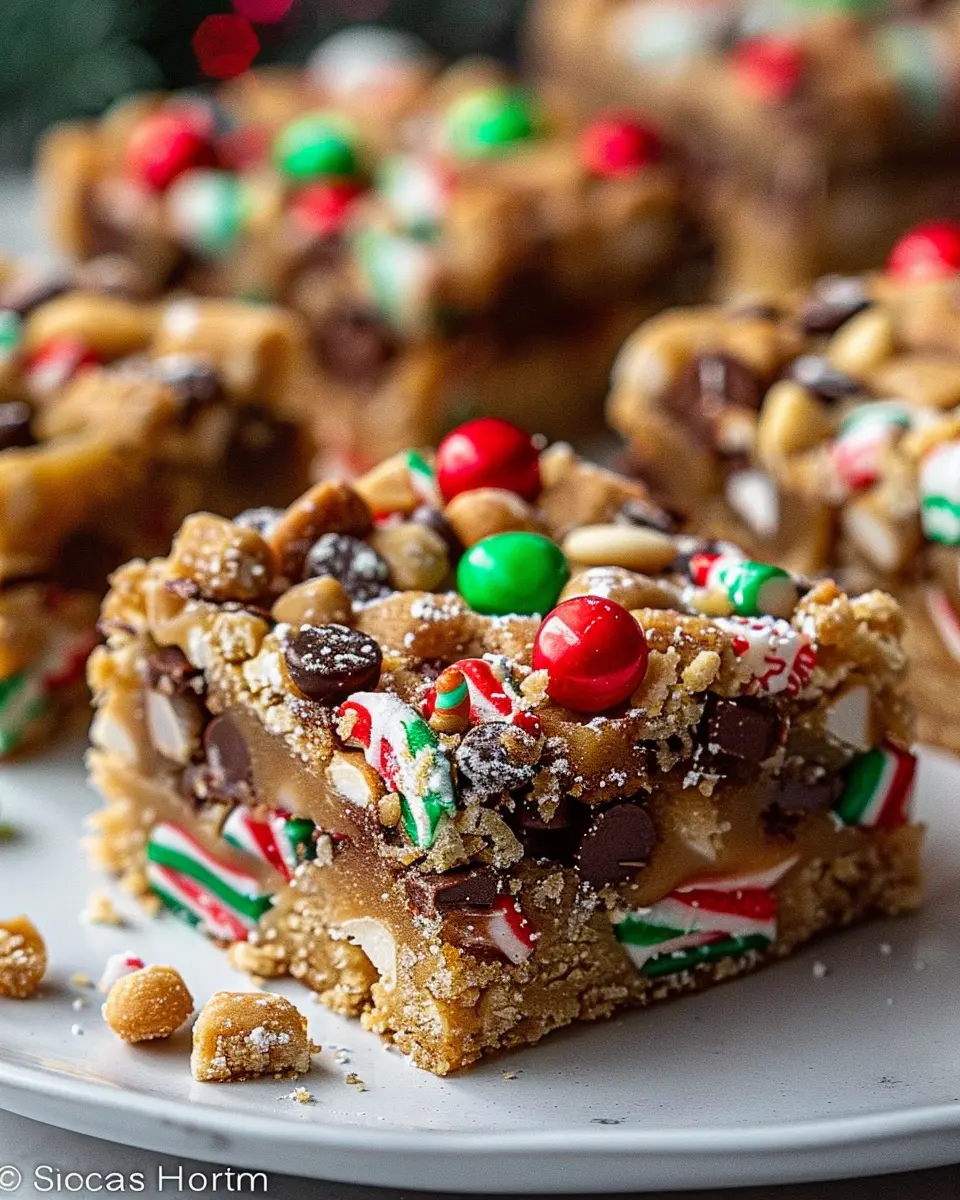
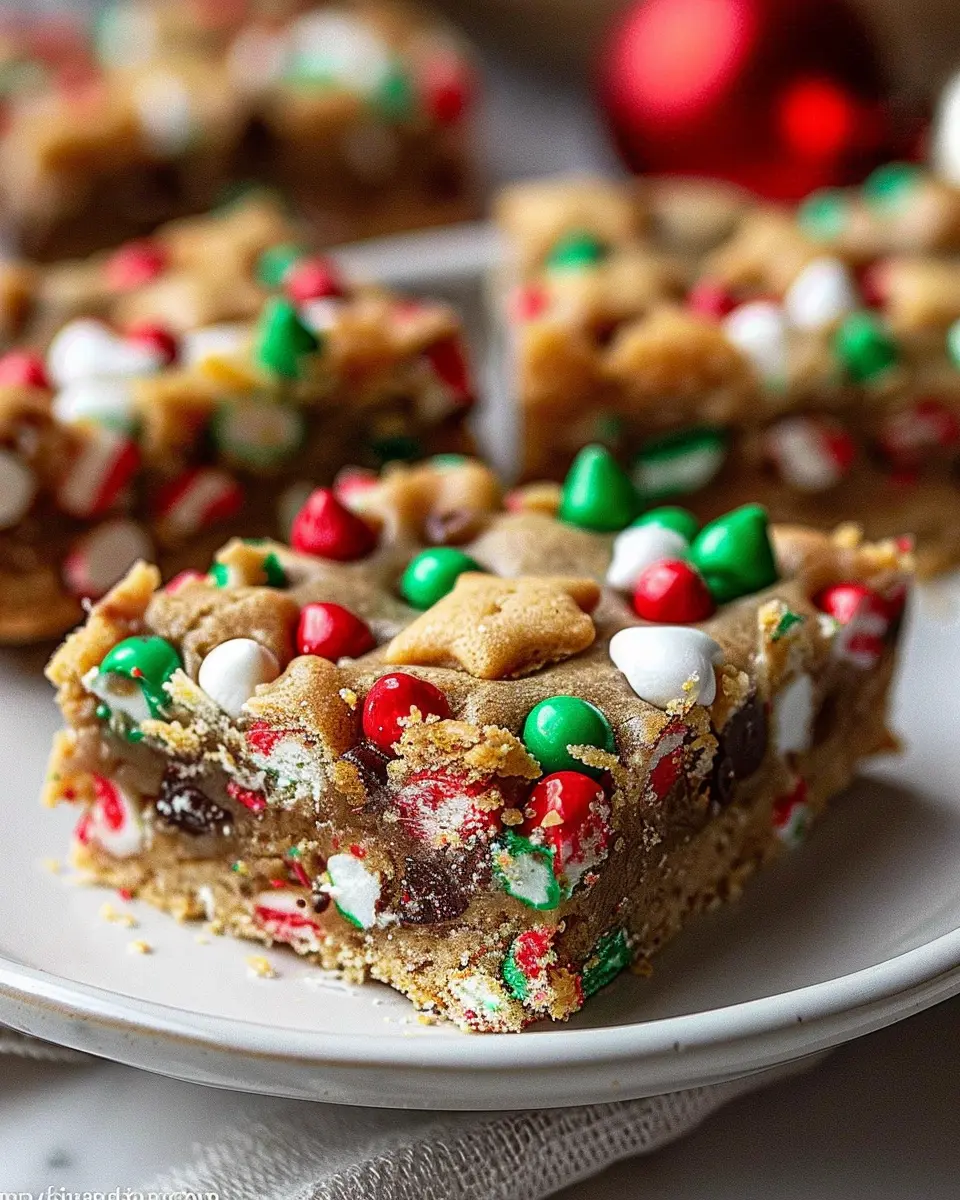
These Christmas Cookie Bars are not just your average festive treat; they are a delightful blend of flavors and textures that will have your taste buds dancing. Imagine biting into a soft, chewy bar bursting with chocolaty goodness and a hint of seasonal spice. They are perfect for holiday gatherings, gift exchanges, or simply enjoying at home with a cozy cup of cocoa. Plus, they are easy to make and great for involving friends or family in the kitchen.
As you plan your holiday baking, remember the joy these bars can bring to both your kitchen and your celebrations. Ready to spread some cheer? Give this recipe a try, and don’t forget to share your delicious creations! For additional festive inspirations, check out The Cookie Council for more sweet ideas.
PrintChristmas Cookie Bars: Easy Indulgence for Your Holiday Gatherings
Enjoy these delicious and festive Christmas Cookie Bars, perfect for holiday gatherings and a delightful treat for family and friends.
- Prep Time: 15 minutes
- Cook Time: 30 minutes
- Total Time: 45 minutes
- Yield: 16 bars 1x
- Category: Dessert
- Method: Baking
- Cuisine: American
- Diet: Vegetarian
Ingredients
- 2 cups all-purpose flour
- 1 cup granulated sugar
- 1/2 cup brown sugar
- 1 cup unsalted butter, softened
- 2 large eggs
- 1 tsp vanilla extract
- 1 tsp baking powder
- 1/2 tsp salt
- 1 cup chocolate chips
- 1 cup holiday sprinkle mix
Instructions
- Preheat the oven to 350°F (175°C) and grease a 9×13 inch baking pan.
- In a large bowl, cream together the softened butter, granulated sugar, and brown sugar.
- Add the eggs and vanilla extract, and mix until well combined.
- In another bowl, whisk together the flour, baking powder, and salt.
- Gradually add the dry ingredients to the wet ingredients, mixing until just combined.
- Fold in the chocolate chips and holiday sprinkles.
- Spread the batter evenly in the prepared baking pan.
- Bake for 25-30 minutes or until the edges are golden brown and a toothpick comes out clean.
- Allow to cool before cutting into squares.
Notes
- Store in an airtight container for up to one week.
- These bars freeze well for up to three months.
Nutrition
- Serving Size: 1 bar
- Calories: 210
- Sugar: 15g
- Sodium: 150mg
- Fat: 10g
- Saturated Fat: 6g
- Unsaturated Fat: 4g
- Trans Fat: 0g
- Carbohydrates: 28g
- Fiber: 1g
- Protein: 2g
- Cholesterol: 30mg
Keywords: Christmas Cookie Bars, holiday desserts, easy cookie recipes